Table of Contents
How to Make Coffee with an AeroPress Using Fuelled Omni Ground Coffee
If you’re looking for a quick, smooth, and flavour-packed cup of coffee, the AeroPress is one of the best brewing methods around. Compact, easy to use, and versatile, it has earned a cult following among coffee lovers worldwide. At The Fuelled Coffee, our Omni Ground Coffee is specially crafted to work across different brewing methods, making it the perfect choice for your AeroPress brew.
In this guide, we’ll walk you through how to make AeroPress coffee step-by-step—whether you’re at home, in the office, or even out hiking.
Why Use an AeroPress?
The AeroPress is loved for its:
- Speed – brews coffee in under 2 minutes.
- Portability – lightweight and travel-friendly (perfect for hiking, camping, or road trips).
- Consistency – produces smooth, low-acidity coffee.
- Versatility – works with both regular and inverted methods.
When paired with our Frontier Single Origin roast, the AeroPress unlocks the full flavour potential of the beans—delivering a rich cup that works beautifully black or with milk, wherever you are.
What You’ll Need
- Our Omni Ground Coffee (15–18g, about 2–3 tablespoons)
- AeroPress coffee maker
- Paper or metal AeroPress filter
- Kettle (with hot water at \~90–95°C) – or a camping stove / flask of boiling water if you’re outdoors
- Stirrer or spoon
- Mug or carafe
- Scales (optional, but recommended for consistency)
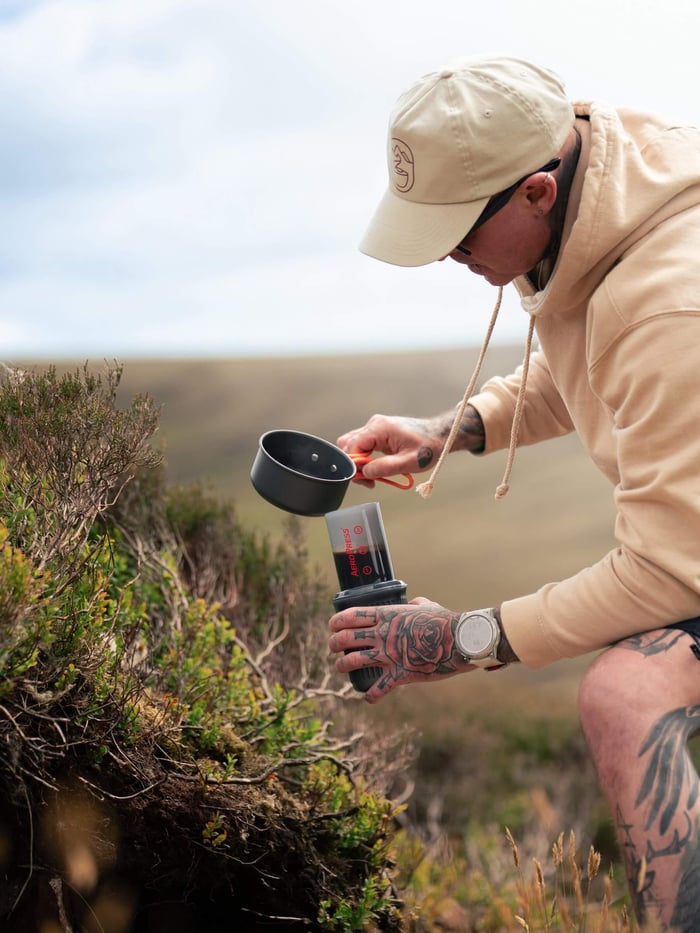
Step-by-Step: How to Brew AeroPress Coffee
1. Prepare Your AeroPress
Insert a filter into the cap and rinse it with hot water. This removes any papery taste and preheats your brewer.
2. Add Your Coffee
Place the AeroPress on your mug (or use the inverted method if you prefer). Add 15–18g of Omni Ground Coffee—a medium-fine grind works best for AeroPress.
3. Pour in Hot Water
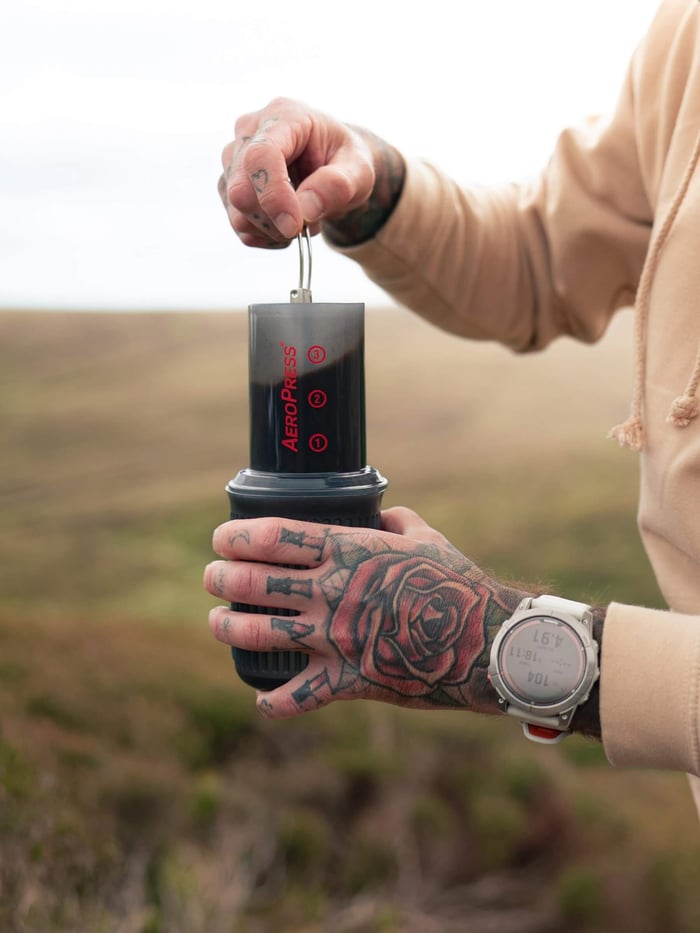
At home, heat your water to 90–95°C. Outdoors, simply boil water on a small camping stove or carry a flask of boiling water—it’ll stay hot enough for a few hours. Pour 220ml over the coffee, making sure all the grounds are saturated.
4. Stir & Steep
Give the coffee a gentle stir for 10 seconds, then place the plunger on top to create a seal. Let it steep for around 1–2 minutes.
5. Press
Slowly press down with steady pressure. The plunge should take around 20–30 seconds—if it’s too easy, your grind might be too coarse; if it’s too hard, too fine.
6. Enjoy Anywhere
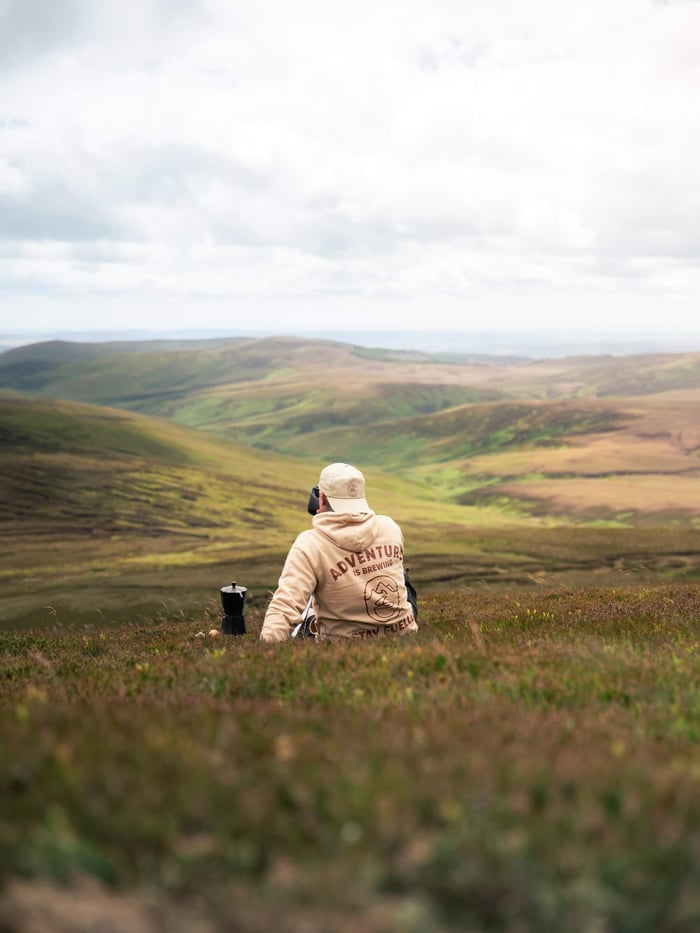
Your AeroPress coffee is now ready to drink. Sip it black to experience the full flavour of The Fuelled's Coffee, or add milk for a smoother taste. Whether you’re starting your workday or sitting on a mountain peak, you’ll enjoy a consistent, delicious cup.
Pro Tips for AeroPress Brewing
- On the go: Take pre-measured coffee portions in small containers or sachets to make brewing on a hike simple.
- Experiment with ratios: Try 14g coffee to 200ml water for a lighter cup, or 18g to 220ml for a stronger brew.
- Inverted method: Flip your AeroPress for more control and a slightly richer extraction.
- Try it iced: Brew as normal, then pour over ice for a refreshing cold coffee on summer hikes.
Why Fuelled Omni Ground Coffee Works Perfectly
Unlike single-grind coffees that are optimised for one method, our Omni grind is designed to perform across brew styles. Whether you use an AeroPress, French Press, or V60 at home—or an AeroPress while out hiking—you’ll get a consistent, smooth, and flavourful cup every time.
Final Thoughts
Brewing with an AeroPress is quick, simple, and endlessly customisable. With our Omni grind, you’ll get a balanced, versatile flavour profile that shines through in every cup—whether you’re at your kitchen counter or halfway up a mountain.
If you haven’t tried it yet, now’s the time to upgrade your coffee game. Grab a bag of The Fuelled Coffee here Our Coffee and start brewing your perfect AeroPress coffee today.