Table of Contents
- How to Make Coffee at Home Using an Espresso Machine
- Brew Like a Barista With The Fuelled’s Specialty Beans
- What You’ll Need
- Step 1: Choose the Right Beans
- Step 2: Grind Fresh, and Grind Right
- Step 3: Dose and Distribute
- Step 4: Tamp with Consistency
- Step 5: Purge and Lock In
- Step 6: Pull Your Shot
- Step 7: Taste and Tweak
- Bonus: Milk-Based Espresso Drinks
- Common Mistakes to Avoid
- Why It’s Worth It
- Fuel Your Morning with The Fuelled
- Ready to level up your home barista skills?
How to Make Coffee at Home Using an Espresso Machine
Brew Like a Barista With The Fuelled’s Specialty Beans
There’s something undeniably satisfying about a perfectly pulled espresso shot — the rich aroma, the velvety crema, the bold, complex flavour. And while your favourite café might make it look effortless, brewing great espresso at home is absolutely achievable. With the right espresso machine, high-quality beans (like ours at The Fuelled), and a bit of practice, you can turn your kitchen into your own personal coffee haven.
In this guide, we’ll walk you through how to make espresso at home using an espresso machine, from bean to cup — with tips for getting the most out of your equipment and your Fuelled beans.
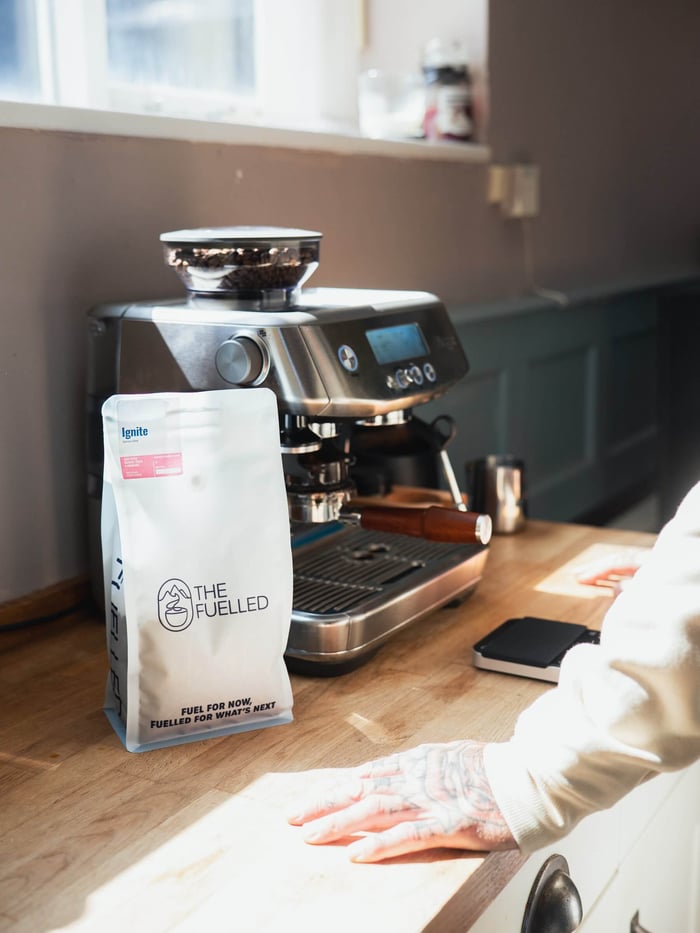
What You’ll Need
To get started, here’s what you’ll need:
- An espresso machine (manual, semi-automatic, or automatic)
- A burr grinder (for whole beans)
- Fresh, filtered water
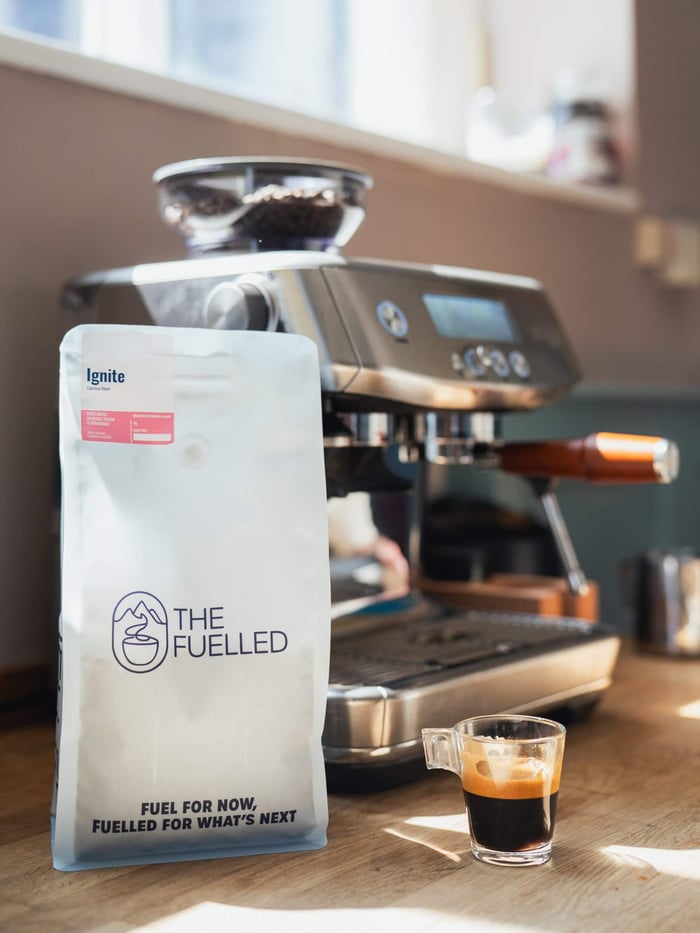
- High-quality specialty coffee beans (like The Fuelled’s Ignite blend or Frontier single origin)
- A tamper
- A scale (optional but highly recommended)
- A clean espresso cup or shot glass
Step 1: Choose the Right Beans
Espresso is all about bold flavour, so the beans you choose matter. At The Fuelled, we roast our beans in small batches for maximum freshness and flavour clarity. Whether you prefer chocolatey, nutty undertones or fruity, complex acidity, we’ve got a roast for you.
Always opt for freshly roasted coffee — ideally within 2–4 weeks of the roast date. Store beans in an airtight container away from light, heat, and moisture.
- Fuelled Tip: Use our Ignite Espresso Blend if you're after a traditional, syrupy shot. But don’t be afraid to experiment with lighter roasts for a more modern, vibrant flavour.
Step 2: Grind Fresh, and Grind Right
The grind size for espresso is crucial. You want a fine grind — similar to table salt — but not powdery like flour. If it’s too coarse, your shot will under-extract and taste sour or weak. Too fine, and it’ll over-extract and taste bitter or burnt.
Use a burr grinder for consistency, and aim for about 18–20 grams of coffee for a double shot (you can adjust to taste later).
- Fuelled Tip: If your espresso tastes off, don’t immediately blame the beans — 9 times out of 10, it’s a grind issue.
Step 3: Dose and Distribute
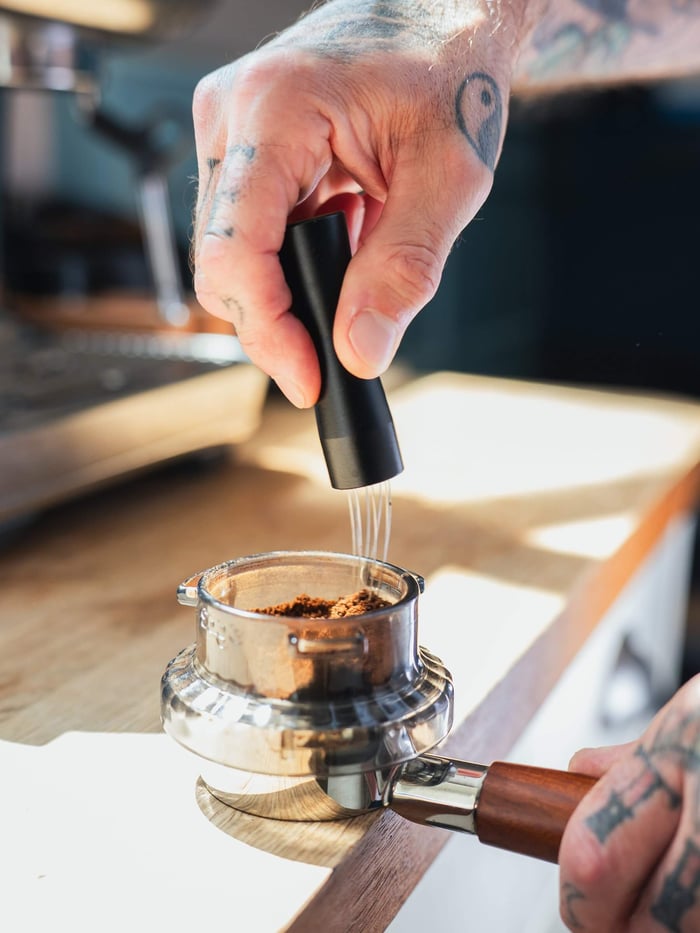
Weigh your ground coffee (18–20g for a double shot) and place it in the portafilter basket. Distribute the grounds evenly with your finger or a distribution tool to avoid channelling (when water flows unevenly through the coffee).
Step 4: Tamp with Consistency
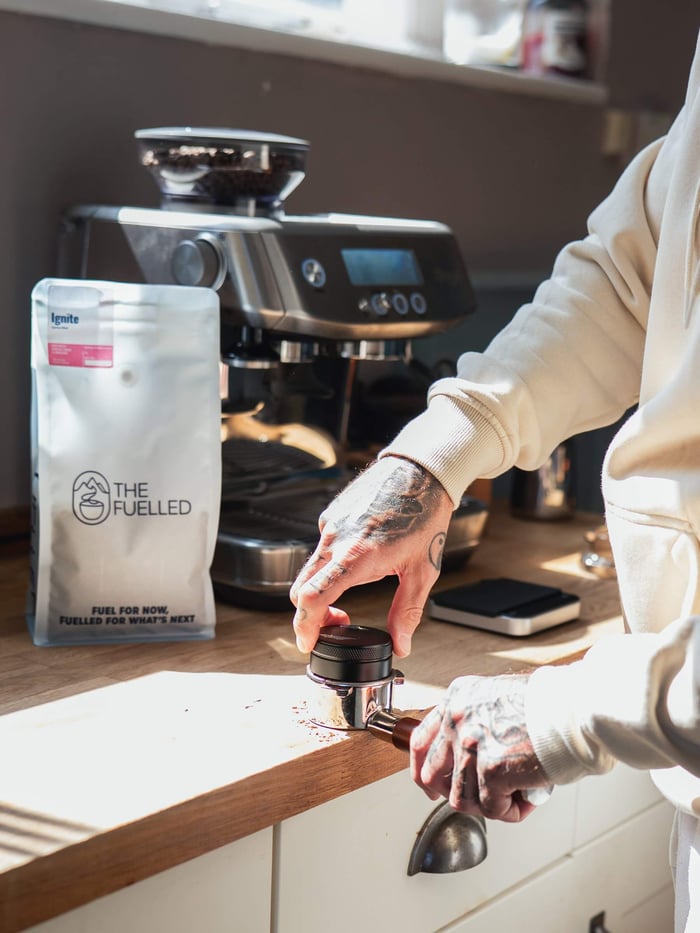
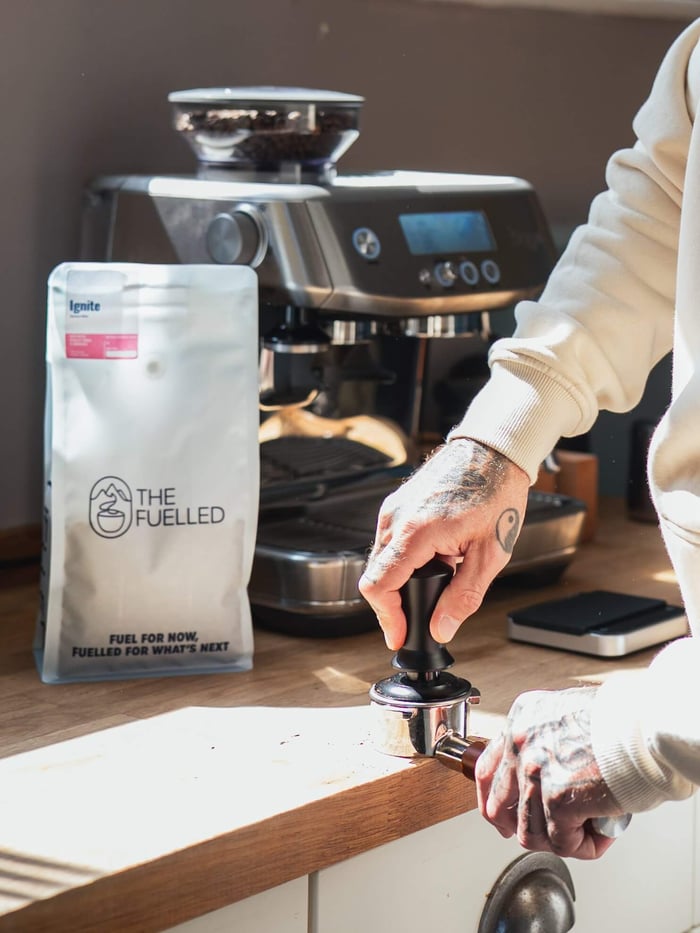
Using a tamper, press down firmly and evenly until the puck is level and compact. You don’t need to crush it — about 30 pounds of pressure is ideal. The goal is a smooth, even surface so water passes through uniformly.
- Fuelled Tip: Keep your wrist straight and use your body weight to apply pressure. An uneven tamp can ruin your shot before it starts.
Step 5: Purge and Lock In
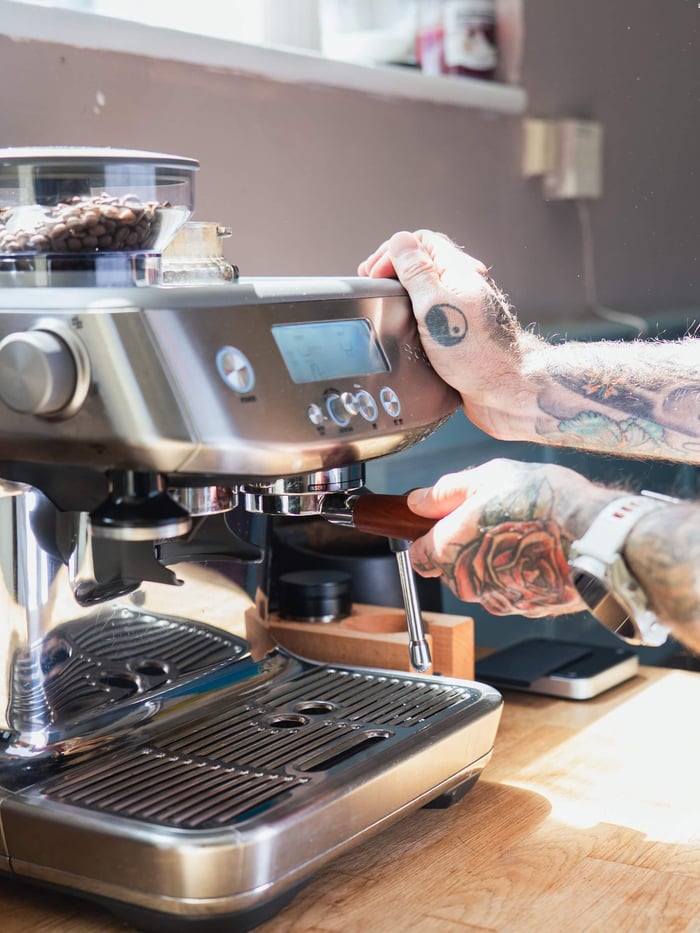
Before inserting the portafilter, run a quick water flush through the machine to clear any leftover grounds or to bring the group head to temperature. Then lock in the portafilter securely.
Step 6: Pull Your Shot
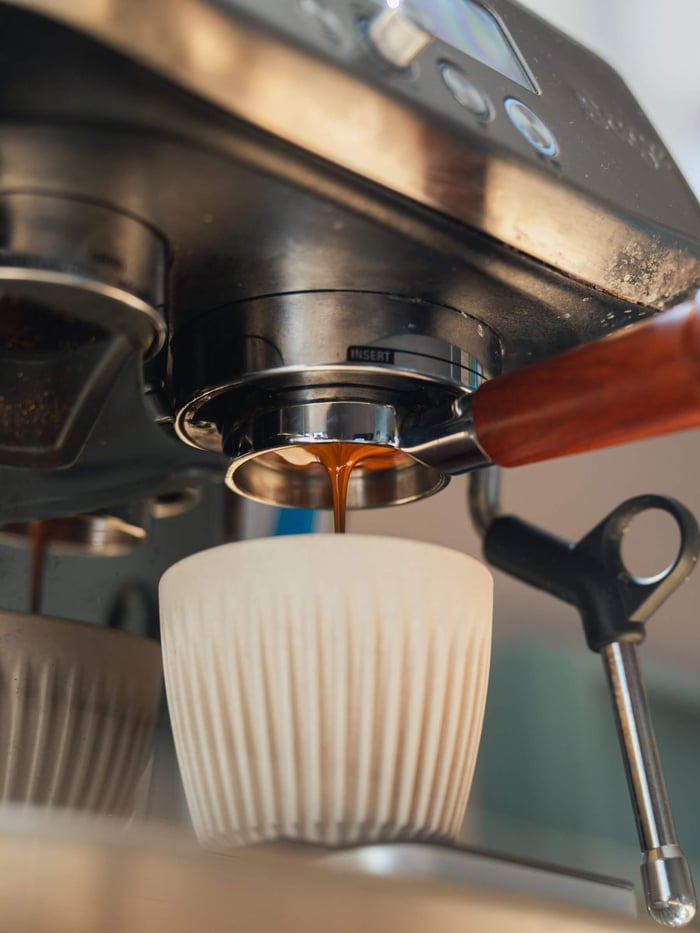
Start the extraction and time it. A standard double espresso should take about 25–30 seconds to pull and yield around 36–40ml of liquid. Watch the flow: it should start as a drip, then become a smooth, steady stream — like warm honey.
If it gushes out too quickly or takes too long, adjust your grind size and try again.
- Fuelled Tip: Don’t walk away while pulling your shot — this is the moment of truth. Look for golden crema on top and a rich, syrupy body.
Step 7: Taste and Tweak
Take a sip. Great espresso should have balance — a mix of sweetness, acidity, and bitterness. If it’s too sharp or sour, try a finer grind or a longer extraction. Too bitter or harsh? Go coarser or reduce your dose slightly.
Dialling in takes a few tries, but once you hit that sweet spot, it’s pure magic.
Bonus: Milk-Based Espresso Drinks
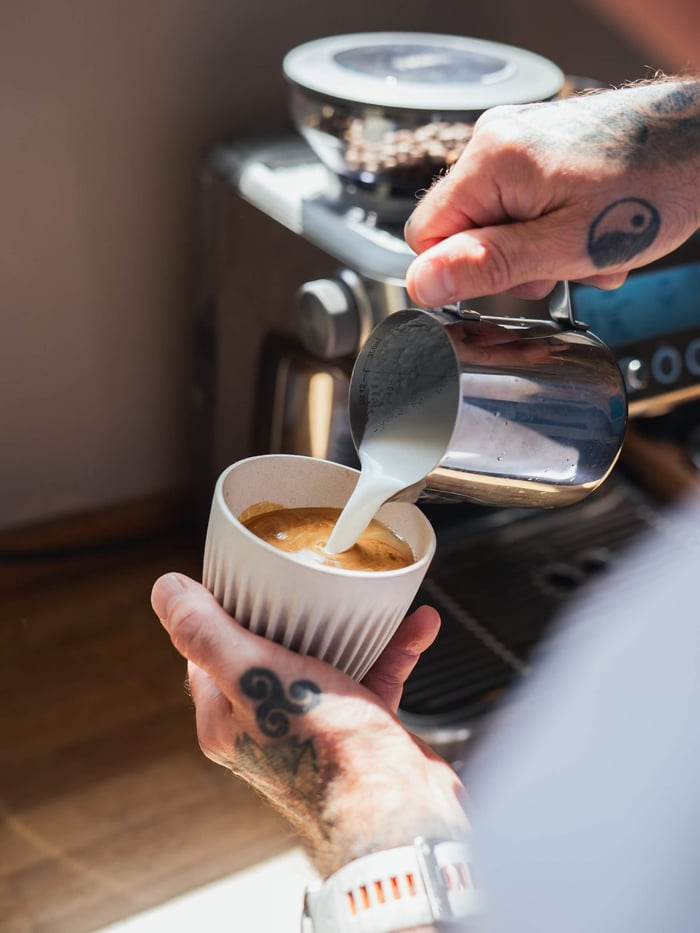
Fancy a flat white or latte? Steam your milk to around 60–65°C (140–150°F) until it’s silky with microfoam. Pour slowly into your espresso and enjoy.
- Fuelled Tip: Use whole milk for the best texture, or try oat milk for a creamy plant-based option that pairs beautifully with our nutty house blend.
Common Mistakes to Avoid
- Using stale beans: Always check the roast date — fresh is best.
- Wrong grind size: Even tiny changes make a huge difference in espresso.
- Tamping unevenly: Leads to channelling and weak or bitter shots.
- Skipping machine maintenance: A clean machine makes better coffee. Backflush regularly and descale monthly.
Why It’s Worth It
Making espresso at home can feel intimidating at first, but the rewards are huge. You save money, learn a rewarding skill, and get to experiment with your favourite The Fuelled beans in new and delicious ways.
Plus, nothing beats the smell of fresh espresso first thing in the morning — especially when you know you made it.
Fuel Your Morning with The Fuelled
Whether you’re a beginner or a home barista in the making, great espresso starts with great beans. At The Fuelled, we’re passionate about sourcing, roasting, and delivering specialty coffee that’s bold, fresh, and full of flavour.
Browse our collection of espresso-ready blends and single origins, and start brewing better coffee at home today.
Ready to level up your home barista skills?
Shop our specialty beans or grab a subscription and never run out of Fuelled again.